Tiny Cabin: First Wall

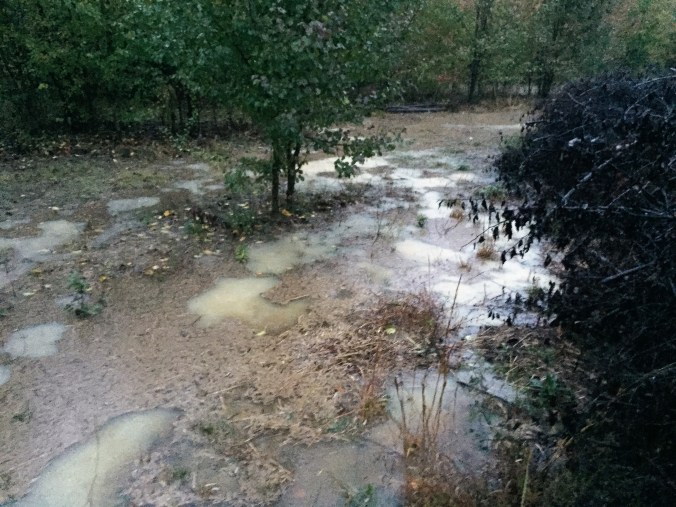
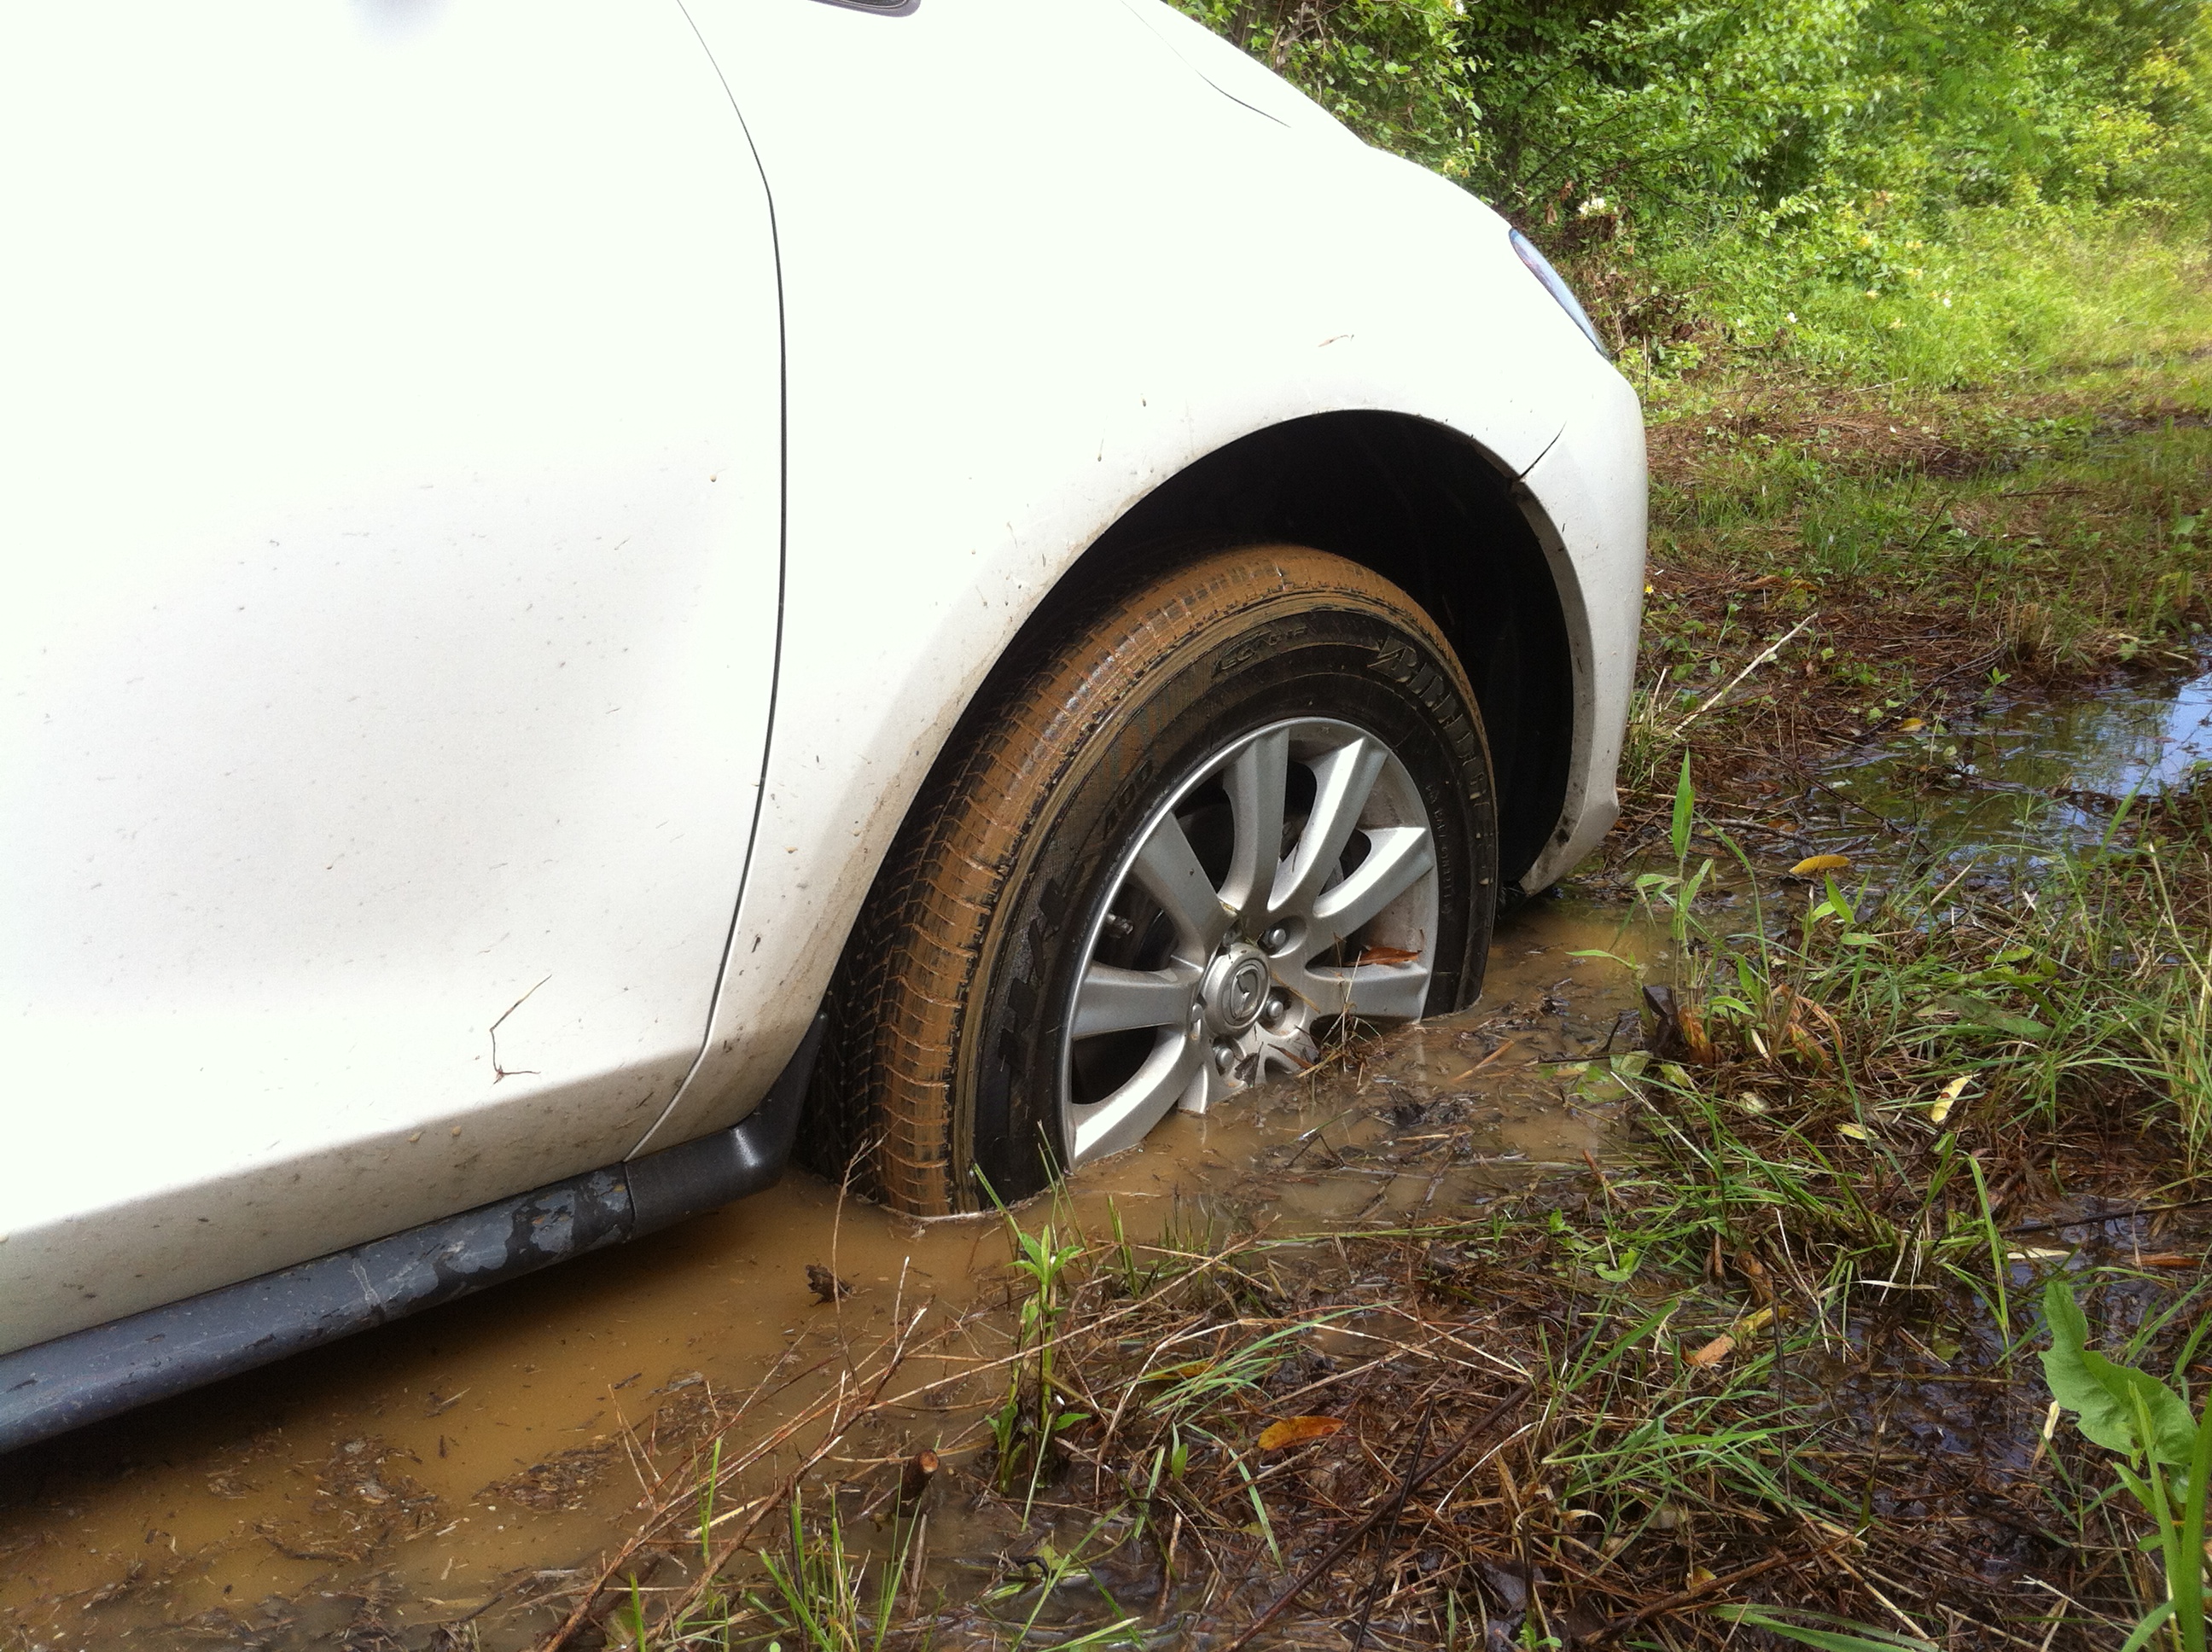
We had three days off before Thanksgiving, and the weather was promising. The flood waters had receded, and our cabin had weathered it all. Schedules cleared, we set our alarms for five thirty each morning and drove an hour to the cabin site. The sun crested the God-forsaken Bradford pears to warm the 36 degree air.

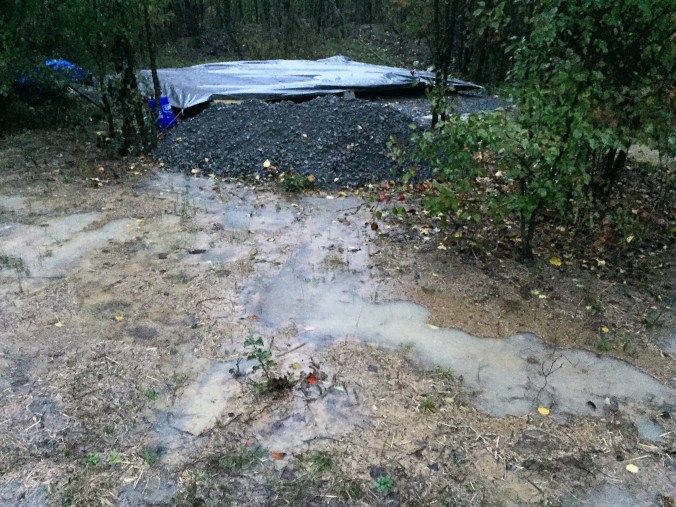
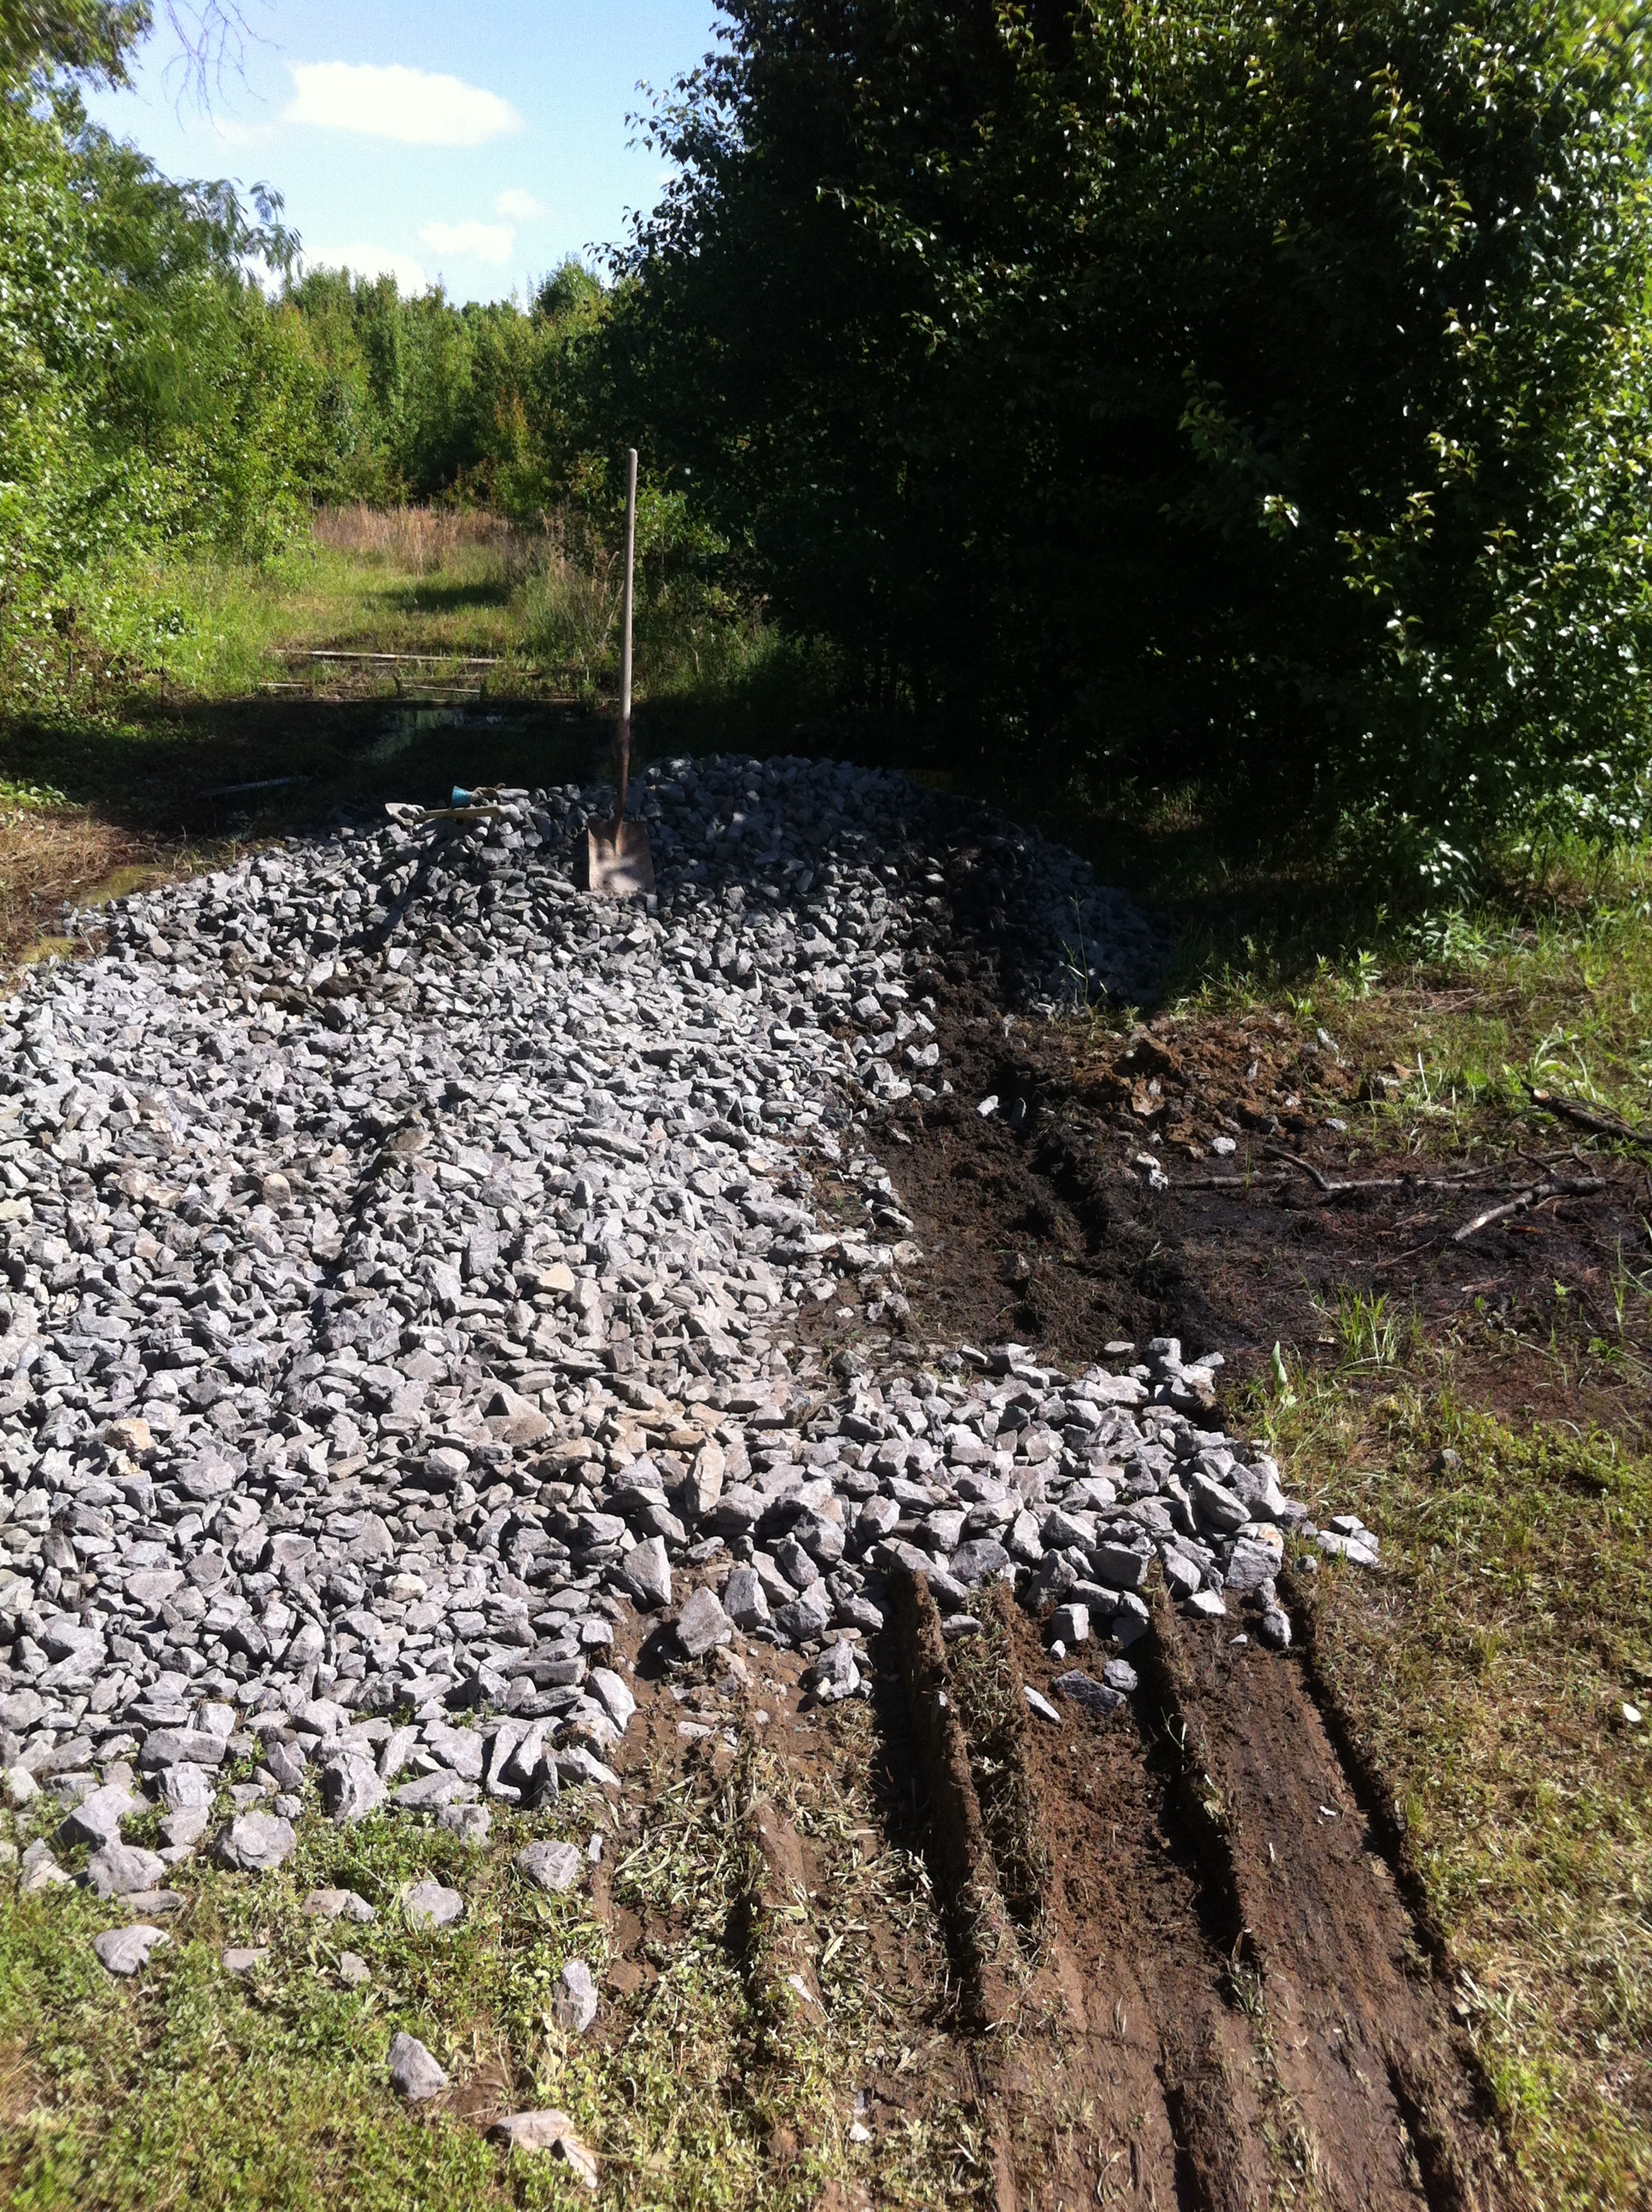
The other days weren’t as cold, but they were breezy and sunless. Warming up wasn’t hard with plenty of gravel to shovel around the foundation. Six more inches of rain would soon be on the way.

Our days began and ended in the dark, a rhythm that my body actually welcomed. We were home by six with just enough energy left to eat, bathe, and fall asleep.

The first order of business was nailing down the sub-floor. If I had it all to do over, I’d buy the more expensive, sturdier boards. However, once the sturdy pallet wood floors are down, we won’t know the difference.

After buying 70+ boards, we began assembling the walls. Luckily, Chuck pays attention to measurements and drawing straight lines. I gave that up a long time ago…

We realized that the 2 ¼” nails weren’t cutting it—nailing one end loosened the other. I’m not sure why we thought they would; the directions were clear: 3 ½” nails. No problems there.

Nailing together the frame took only a matter of minutes. Framing the door and windows, however, required finesse. We had to consider not only the size, but also the placement and height, which meant we needed to know the floor plan. Anticipating this, we had already taped off the size of the cabin in our current living room. That’s right—the tiny cabin is smaller than our current living room!

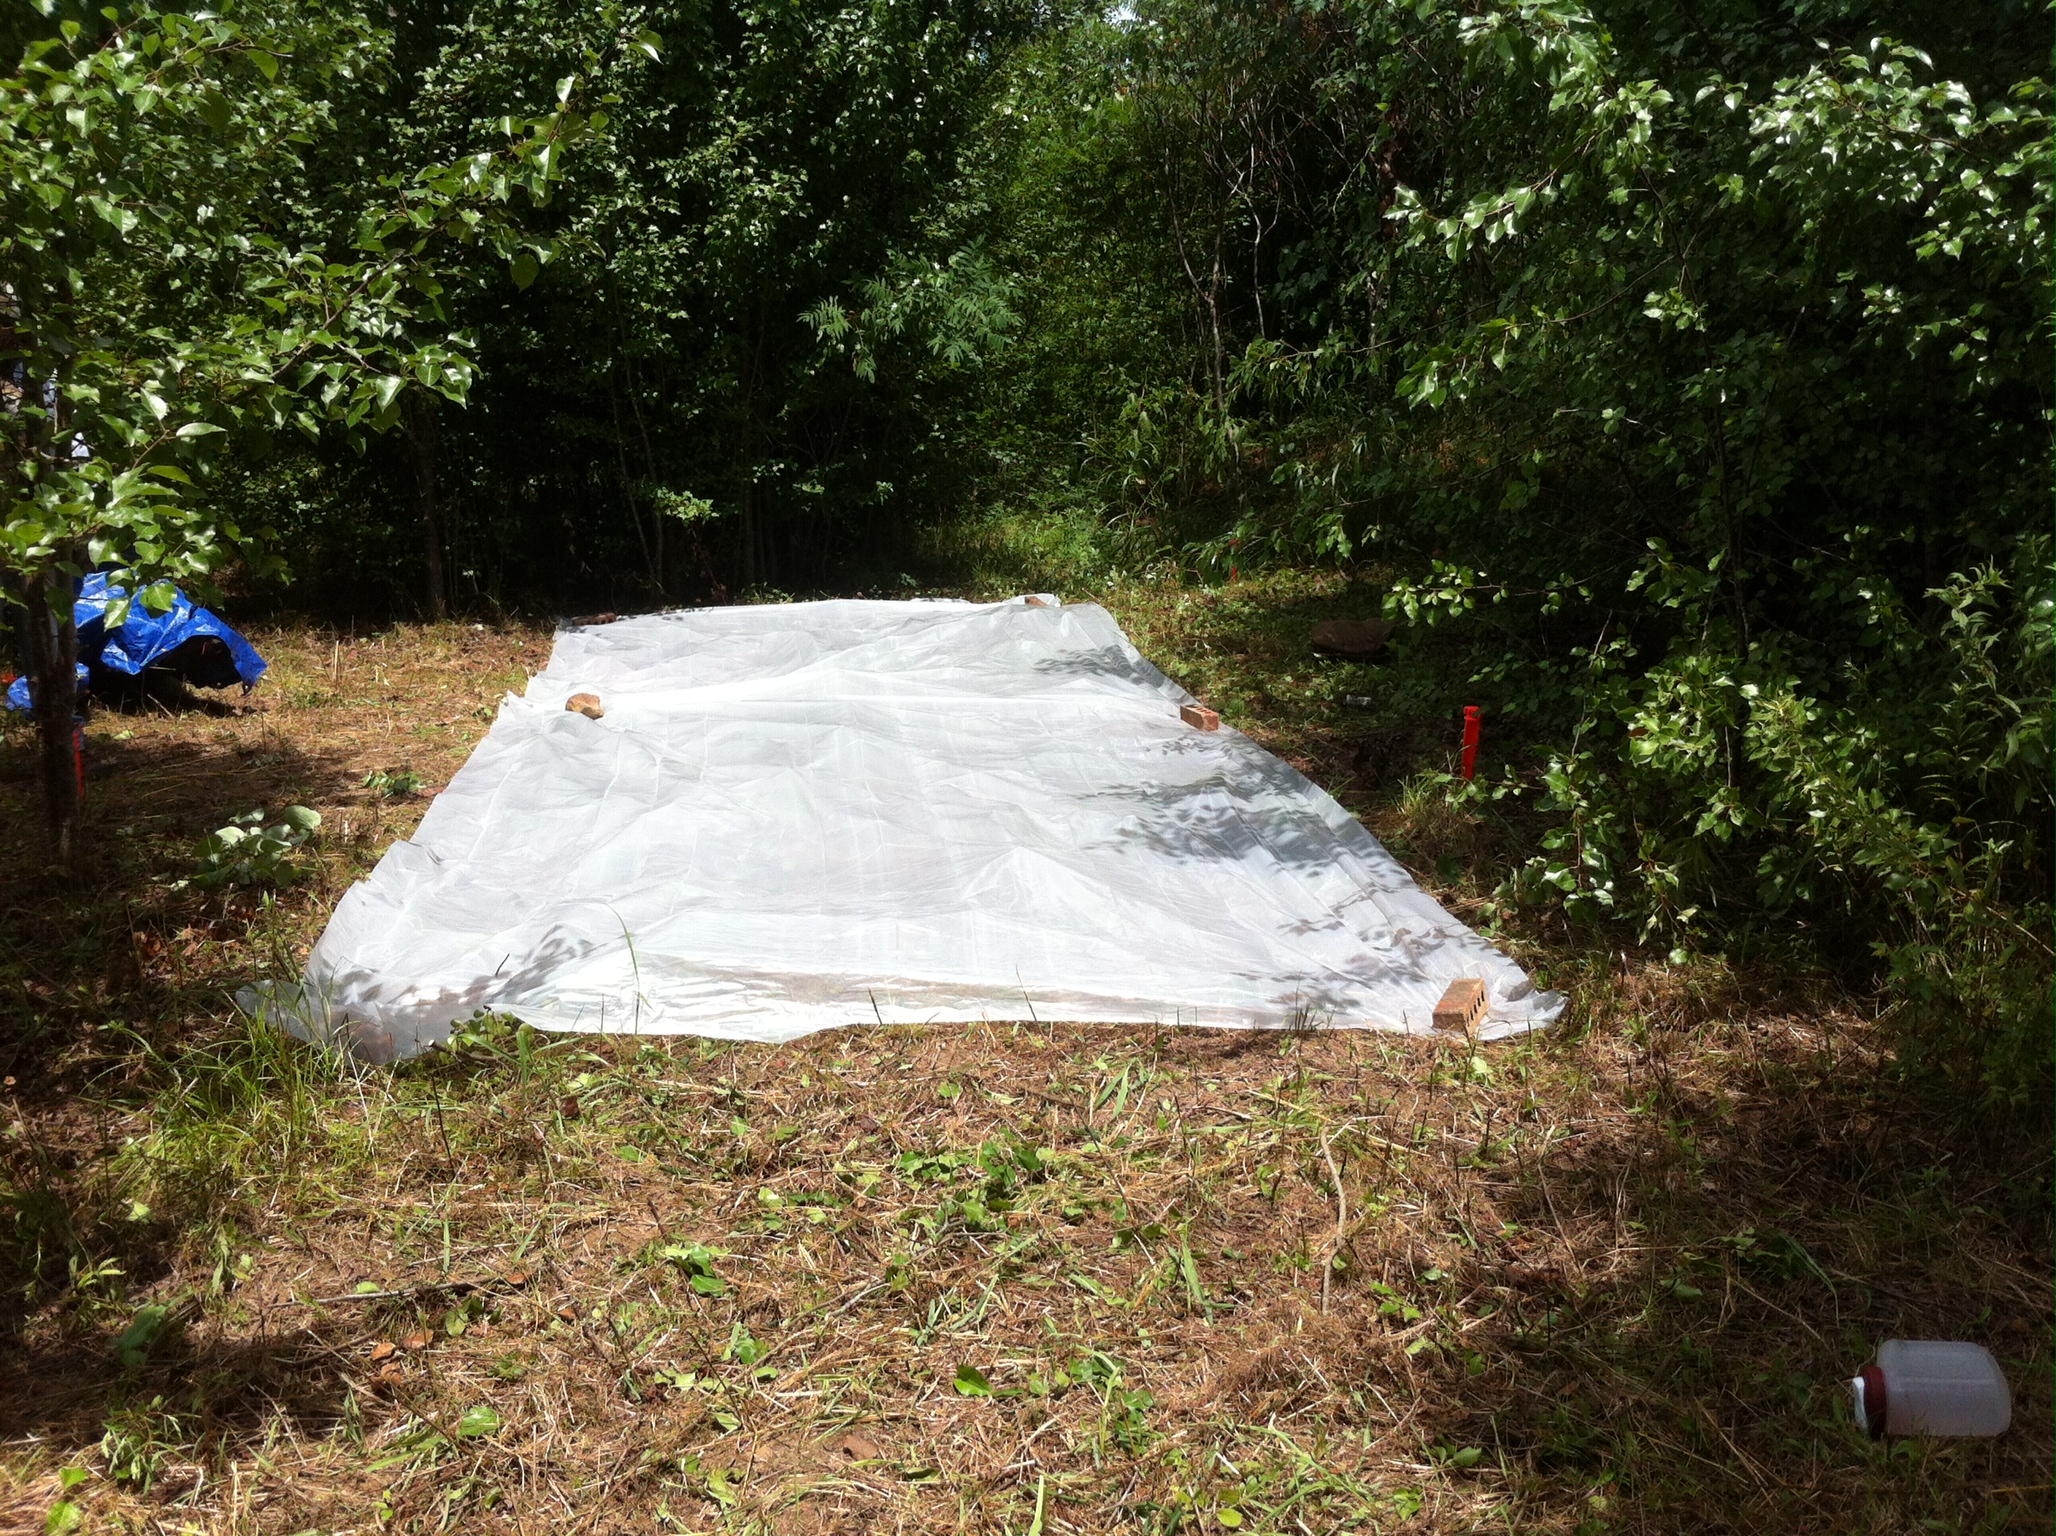
We spontaneously decided that each door would have a transom window. We built the back wall as well, but we’re waiting to put it up. We covered everything with a 20’ x 30’ tarp and didn’t want it to invite a pond between the two walls.

The hard part now is coordinating time off with good weather. Three consecutive days should be enough to finish the shell, but that depends on forces beyond our control.

Flooding and the Tiny Cabin

Some people romantically refer to their home as a “castle.” While our 10′ x 16′ space is not exactly palatial, we do now have a moat.

IMG_5566 (1) (2)

I can view my glass as either half-empty or half-full. On one hand, the land we purchased is and always will be low-lying. We did receive an excessive amount of rainfall in a short period of time and a number of counties were under a flash-flood warning, but Arkansas is no stranger to strange weather. This won’t be the last time something like this happens.

IMG_5565 (2)

On the other hand, the area of the house is not flooded. Our moving dirt with a rented Bobcat and our hours of shoveling gravel paid off. And unlike our first drive onto the land back in May, our car did not get stuck. Yes, the yard is one big mud puddle, but it isn’t quicksand.

IMG_5567 (2)

I foresee more gravel in the future, and possibly a dock made out of pallet boards…but first, four walls and a roof.

DIY Laundry Detergent

For some odd reason, I saw a lot of Tide detergent commercials when I was growing up. Perhaps they were sandwiched between kid shows in the hope that desperate new parents would see it as a solution to at least one of their many challenges. These commercials claimed that Tide would get clothes cleaner and keep them more vibrant. We couldn’t afford Tide, so I added this item to my ever-growing checklist of what it meant to live the dream of suburbia.

Then one day, I tried the fancy, bright orange bottle that promised to make all of my dreams come true. Eventually, I admitted that I didn’t enjoy the way it made my clothes—and therefore me—smell. And later, as I became more environmentally conscientious, I began buying brands such as Seventh Generation, which cost even more but didn’t make me stink. The liquid was also clear, as opposed to radioactive blue.

Even more than cost-saving, however, I relish being able to make my own detergent. It’s one item I never have to add to my grocery list again, and each batch makes a year’s supply. Added bonus: the bumps on the back of my arms have disappeared.

Ingredients for laundry detergent

Ingredients for laundry detergent

Ingredients:

  • Half of a grated bar of ZOTE soap
  • 1/2 C Borax 20 mule team powder
  • 1/2 C Arm & Hammer (or other brand) Super Washing Soda
  • Hot water

Other items needed:

  • A large pot
  • A large stirring spoon
  • A funnel
  • 5-gallon bucket
  • Containers in which to store the detergent (old detergent containers or plastic cat litter containers such as Tidy Cats) Note: the Tidy Cats containers can become very heavy, so I fill them halfway.

What to do:

  1. Fill a very large pot (at least 4 quart) 3/4 full of water.
  2. Bring to a boil.
  3. Add grated Zote and stir until dissolved.
  4. Add 1/2 C Borax and stir until dissolved.
  5. Add 1/2 C Arm & Hammer Super Washing Soda and stir until dissolvedPot of Laundry Detergent on Stove
  6. Fill a 5-gallon bucket 3/4 full with hot water (it is easiest to do this under a tub faucet).
  7. Pour the contents of the pot into the bucket. Add more hot water to fill 2″ from top.
  8. Cover with lid and let sit 24 hours.
  9. Stir and pour into containers using a measuring cup (for the pour spout) and a funnel. It will be the consistency of Jello.
  10. Use a capful from your regular liquid laundry detergent. Some recipes boast that only 1/4 C is necessary, but I usually use 1/3-1/2 C. Note: sometimes I have to shake the containers if the mixture separates.

Filling the containers with laundry detergent

You can add drops of your favorite essential oil if you would like a scent. Otherwise, the detergent is ready to go!

Building the Tiny Cabin Frame

The plans we have require nine deck blocks ($6.22 each/$55.98 total), two 2’ x 6’ x 16’s ($9/$18), and thirteen 2’ x 6’ x 10’s ($5.39/$70.07). We had spread the gravel, but we knew that the surface wasn’t level. So, once we set out the deck blocks, we not only had to make sure that the deck block itself was level, but that it was the same height as the other eight. The back right corner seemed to be higher than the rest, so we decided to make that one the measure. We knew the guesswork would take a while, but it is absolutely essential that the blocks be even. It’s worth the time and effort.

Building Materials: boards, joist hangers, insulation, and chicken wire

Building Materials: boards, joist hangers, deck block insulation, and chicken wire

We added gravel to raise the back left corner and then put a 2’ x 4’ x 16’ board between them. We then placed the level on the middle of the board. If the bubble lined up, we knew they were the same height. We were surprisingly good at judging how much gravel to add to make the four pillars the same, but the deck blocks themselves were rarely level on all four sides (the smaller the space to level, the more difference one millimeter makes). Chuck raised the heavy block while I added anything from stones to a fine layer of gravel dust. We also had to make sure that the surface was packed down well to reduce the chances of the block shifting.

First Nails

It was time to nail the boards together. We started with the same back corner. Chuck drilled holes first to make driving the nails easier. I held the boards and flush as possible as he nailed. We repeated the process until we had finished the outside perimeter. One of the boards split—the nail probably hit a knot in the wood—so Chuck reinforced it on the outside with additional nails. We might have replaced it altogether had the other end of it not already been nailed to the back board.

Luckily, it's not as bad as it looks.

Luckily, it’s not as bad as it looks.

We then used the square (an L-shaped ruler) to make sure the boards had gone together at a perfect right angle, which is harder than one might think. I held the long end of the ruler flush against the 2’ x 4’ x 16’, which we had decided was the board by which the angle would be measured. In a perfect angle, the short end of the L would fit perfectly up against the other board. In our case, however, the end of the ruler made contact with the board, preventing the rest of the ruler from making contact. It was about a millimeter off.

All is not lost when this happens. Chuck took the rubber mallet and hit the wood while I held it tight (obviously, we didn’t want to hit the wood while it was sitting in the carefully-placed deck block). The mallet bends the wood ever so slightly, and we were able to get more of the square flush against the board. It wasn’t perfect, though. Still, all is not lost: later, when we nail the plywood (or OSB) down to the frame, it will help cinch the discrepancies.

Cabin Frame

Between crouching, lifting, and concentrating, we were pretty worn out by the time we finished, nearly five hours after we started. We had hoped to put in all the cross-beams, but instead we had to cover them with the tarp and leave them for another day.

Gravel for the Tiny Cabin Site

We ordered a load of gravel–about 20 tons–and had it delivered to the site. The driver was nice enough to not only back up between the trees and dump a pile where the cabin will be, but also sprinkle the rest along the driveway, reinforcing what was already there and adding an additional strip.

On the day it was delivered, we had the first good rain in weeks. Of course, the downpour began just as the driver arrived and ended just as he was leaving.

gravel driveway

We went out to spread it the following Monday–a lovely, but sunny, 92 degree day. It was a bit warm for mid-October in Arkansas, but it’s been an odd year here.

Gravel 2

Whenever I worry that our 160 square foot cabin (plus loft) will be too small, I remind myself how much work it would be to build anything bigger. I’ve never built a house before, but I’ve noticed that in life, upgrading comes with additional commitments. For example, a nicer car comes not only with a higher payment, but also with higher insurance rates and maintenance costs. More specifically, just this weekend, I learned that buying a $99 cordless reciprocating saw also requires buying blades and a $130 battery and charger. What I originally guessed was a $100 purchase turned out to be $250.

A larger cabin may be in our future someday, but this is one adventure on which I prefer starting small.

Spread Gravel

An hour of spreading gravel was about all we could stand. This weekend we’ll make some small repairs to the camper–it should finally be cool enough to sleep there–and then buy the deck block and other materials we need to build the floor.

Bradford Pears and Clearing the Cabin Spot

Cabin Spot with Plastic sheetIn the book of Genesis, God tells Adam, “cursed is the ground because of you; in toil you shall eat of it all the days of your life; thorns and thistles it shall bring forth for you.”

And then God created the Bradford Pear, or at least the cross-bred variety covering our land like a plague of locusts.

Imagine if thorny vines grew into trees. Imagine a super-plant that can perniciously sprout out of its own roots and grow in a cluster. Imagine interlocking branches and no smooth surface to grab when dragging them away. Imagine inch-long thorns jabbing arms, legs, and abdomen, leaving a tetanus-shot soreness and a purple bruise.

Granted, in spring they blossom white—they’re lovely if you can get past the stench. In autumn, the leaves are breathtaking shades of red, yellow, and orange. https://en.wikipedia.org/wiki/Pyrus_calleryana

But unless cultivated, they’re literally a thorn in the side.

Nevertheless, we’ve cleared enough to put down a sheet of plastic roughly the dimensions of the tiny cabin. This sheet is 10’ X 25’, and our cabin (with porches) will be 16’ X 22’. We still have to remove some stumps, and the impending rain should work in our favor for once–hopefully softening the ground enough for us to pull them out.

A Ton of Work…Literally

5-22-15 driveway with partial rockA few days after our sinking episode, we called a gravel truck. The problem: because the clay was so soft, he couldn’t gradually release the rock so that it spread evenly. He just had to dump it. While he went for another load, we spread it with shovels, shoes, and gloved hands.

We hadn’t expected anyone to be able to come out on such short notice, much less deliver multiple loads. Otherwise, we might have had more hands on deck! Instead, it was just the two of us. We had planned to spend the day clearing the new site for the cabin, but we knew this had to be done. More rains were on the horizon, and the driveway was basically a 6’ x 22’ mud hole.

The air was cool and the day was lovely, but after spreading the third load we were worn out—and the driveway was only half done.

Then, the mayor of Higginson himself showed up—tall and serious, with a resemblance to Tommy Lee Jones. He was in the neighborhood because around the corner a stretch of houses were having some sewer problems. [With a composting toilet we won’t have to worry about that!]

He exuded silent confidence while sizing up the situation. He told us he’d be back with a backhoe, and five minutes later we watched, mouths agape, as he smoothed out the freshly-dumped load.

5-22-15 driveway with rock

We asked if we could make a donation to the town, but he wouldn’t take any money directly. Instead, he said, “If you want, go to City Hall and make a donation to the 4th of July fund.” He seems to take his civic position as one “for the people.”

Thankfully, our cabin-building schedule was only tentative, or else we’d be behind. At the moment, we’re under a severe thunderstorm warning, and up to five more inches of rain are expected this week. We’ll go out to the land on Thursday to see if our new site is still above water.

The Best Laid Plans of Mice and Men

Although the driveway was still pretty wet, we thought we’d push on through in the car and save ourselves the trouble of hauling equipment over the mud puddles.

5-19-15 Car in the mud

In short, we caused ourselves more trouble than we saved.

The title of this post comes from the Robert Burns poem “To a Mouse, On Turning up in Her Nest with the Plough, November, 1785.” He apologizes to the mouse, whose house he has accidentally destroyed at the onset of winter, then philosophizes:

 The best laid schemes o’ Mice an’ Men

Gang aft agley,

An’ lea’e us nought but grief an’ pain,

For promis’d joy!

He then tells the mouse that though she’s unfortunate in the present moment, she’s still luckier than he: humans look back on a difficult past as well as anticipate future hardship.

After over an hour of futile attempts, we were soaked and muddy, spirits dashed. A kind neighbor drove by and pulled us out with a chain. It was a moment of triumph.

We then discovered that with the recent rains, our cabin site had turned into a swamp. To our credit, the house stakes were on the highest ground. Still, our “castle” doesn’t need a moat, so we’re currently looking for a new spot. We probably need more sun for the solar panels anyway.

Looking back on the mistakes we’ve made and knowing that more surprises are no doubt on the way, I can relate to Burns’ poem. But the kindness of strangers, not to mention friends and family, gives me comfort.

Water, Water Everywhere

driveway 5-13-15

Driveway 5-13-15 before

Driveway 5-13-15 after

Driveway 5-13-15 after

We finally made it back to the land today. Searcy has had crazy rain–6-8″ in the past seven days. A portion of the property is under water, but thankfully not where we intend to build the cabin.

Once we build the cabin and set up the rain barrel, we should be able to collect about 8,000 gallons of water a year [~250 sq. ft. of roof x .62 x 50″ annual rainfall = 7,936 gallons].

Cabin Site

Cabin Site

Next week, we’re going to brave the weather and camp on the land. We’ve cleared away all the small trees and brush; now we need a chainsaw. We’ve staked out the spot for the house and have to decide the path for the driveway. Once it’s cleared, we can have a load of gravel brought for the foundation.

Then it’ll be time to start building.

Why a Tiny Home?

Life is too short for housework. Living in a 2400 sq. ft. home with three step-children and three cats, I used to spend at least ten hours a week on housework alone. That was on top of the 40+ hour grind. While earning my M.A. in English and then working as a college instructor, I did a lot of work from home, frequently feeling the tension between a dirty kitchen and a stack of student essays.

I experienced seasonal depression. If the weather outside was nice and I was indoors all day except the length of time it took me to walk to my car, I felt an overwhelming despair. I didn’t recognize the cause for a long time.  But my family can verify: I was irritable and angry.

I reset myself every spring with a week in a tent on Petit Jean Mountain. In 2008, a two-week camping trip to the Southwest—meeting with Hopi and Navajo artists and storytellers—was healing and spiritually orienting.

Now I wonder, “Why immerse myself in nature only one week a year?” The decision to build a tiny house in the woods did not happen overnight, but now I see that I have been evolving toward this lifestyle for a decade. At first it was scary to revise my ideas of success and safety. Then I felt freedom.

Ten more hours a week will be much better spent tending a garden, sitting on the porch, or going fishing. Maybe the next ten years won’t fly by as fast as the last ten did.